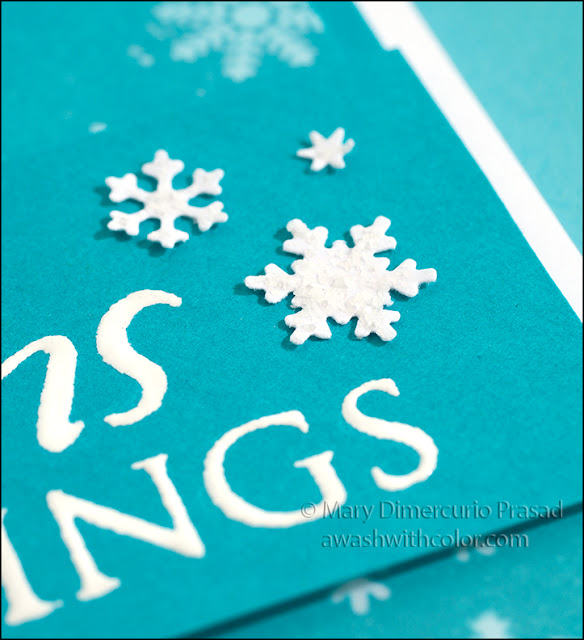
I love the layered look of this snowflake background. It is pretty easy to achieve. The most difficult part of making this card is remembering where you stamped the embossing ink! I ended up putting the embossing powder across the entire top and let it fall over the whole surface to see where the snowflakes were (over a sheet of paper to catch the extra of course), then added more powder where necessary. Since I wanted the background to really stand out, I just added a simple greeting with a few snowflakes to finish the card.
Affiliate links may be included in this post. I participate in the Amazon Services LLC Associates Program, an affiliate advertising program that provides a means for me to earn fees by linking to Amazon.com and affiliated sites at no cost to you. This helps offset a small portion of my crafting addiction... uh, hobby. See notice at bottom of blog for a longer description.
Making the Card
1. Cut white cardstock 5 1/2 x 8 1/2 inches; fold in half to form a 4 1/4 x 5 1/2 inch card base.
2. Cut teal cardstock 4 x 5 1/4 inches. Adhere to card base.
3. Cut white cardstock 4 1/4 x 5 1/2 inches (larger than the final size for some wiggle room). Use a powder tool over the entire surface. Randomly stamp large snowflakes from Snowflakes and Stardust Set using VersaMark ink or other embossing ink. Use a heat tool to emboss with clear embossing powder.
4. Use an ink blending tool to very lightly apply Broken China Distress Oxide ink - don't worry about streaks or unevenness; they won't be noticeable when finished. See above photo - top left image. Wipe over surface with a paper towel. Distress Oxide inks take a long time to dry. You may want to use the heat tool to speed up the process (be careful not to remelt the embossing - keep the tool moving). Test it before going to the next step by sprinkling some embossing powder over the surface. If any sticks, it is not dry, brush off and dry again. Once dry, use a powder tool over the surface again.
6. Stamp Seasons Greetings on teal cardstock, leaving enough space to cut a strip at least 5 1/4 inches wide with greeting near right side. Emboss with white. Note: there is no apostrophe on this stamp, although you may add one with a VersaMarker to emboss in white or by just using a white gel pen. Trim to 5 1/4 inches wide. Adhere to card using dimensional tape/mounting tape.
- Rubbernecker Stamps: Snowflakes and Stardust Set (481), Seasons Greetings Large (983-07)
- Cardstock: White, Teal
- Distress Oxide Ink: Broken China
- VersaMark Ink or Other Embossing Ink
- Clear Embossing Powder
- Powder Tool
- Heat Tool
- Ink Blending Tool
- ColorBox Pigment Ink: Powdered Sugar (ClearSnap/The Stamps of Life)
- White Embossing Powder
- Dimensional Tape/Mounting Tape
- Distress Stickles: Rock Candy
- Post-it Tape
Follow my blog with Bloglovin so you won't miss any of the snowflake fun!


No comments:
Post a Comment
Thank you for leaving a comment! I read (and appreciate) every one!